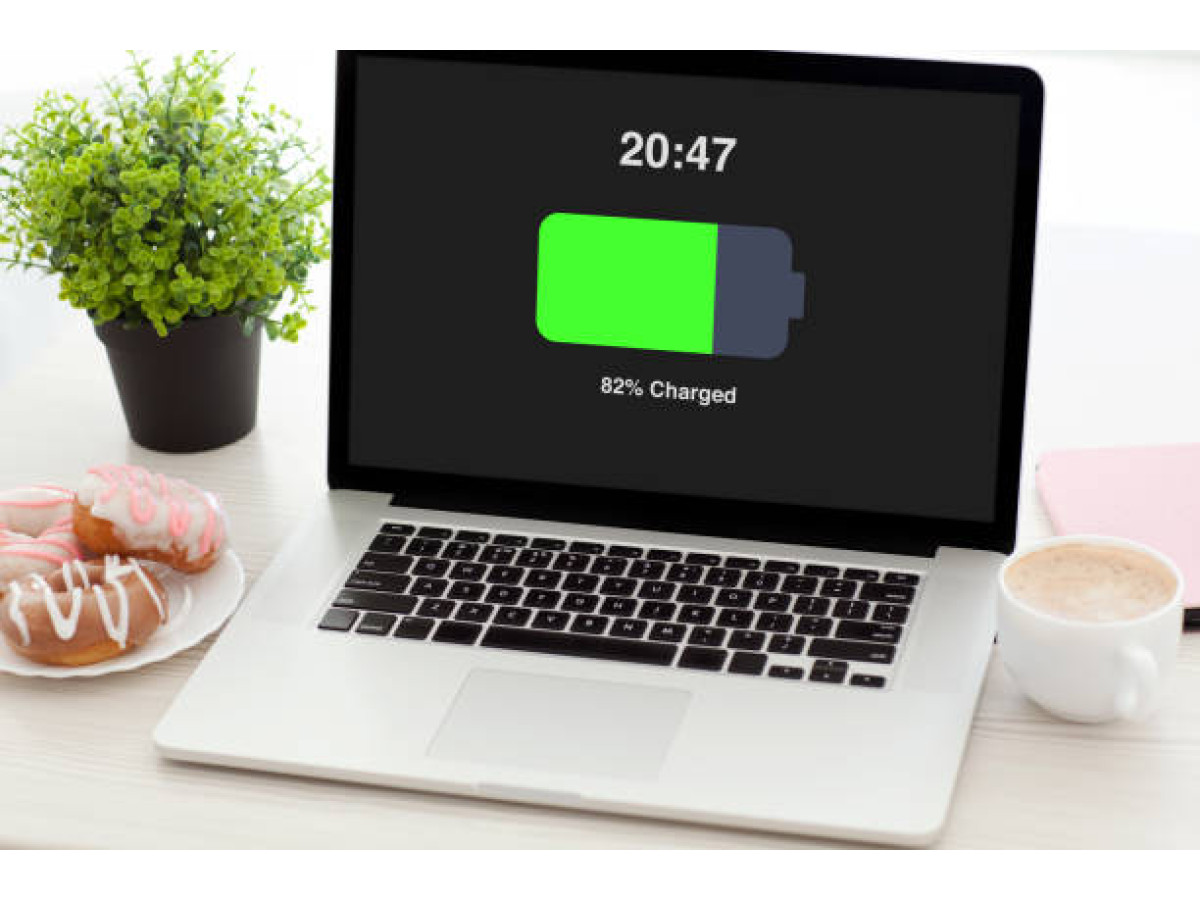
How to calibrate a laptop battery yourself? This question arises when a laptop starts behaving strangely:
- it shows 50% battery life but then shuts down;
- holds much less charge than yesterday;
- or the system shows 100%, but it holds little charge and works as if it were at 40%.
This is not necessarily a malfunction; most often, it is a faulty battery controller, and the system simply reads its actual capacity incorrectly. Calibration is a way to "remind" the laptop how much charge is actually inside.
In this article, we will discuss when this needs to be done, how to prepare properly, and how to calibrate the battery yourself in three different ways. We will also explain when this procedure will help and when it is time to replace the battery.
What is battery calibration?
Calibrating a laptop battery is not "magic," but rather a simple adjustment. That is, synchronizing the controller with its actual state. The battery controller (the chip inside) should show the actual charge level. But over time, it "loses its sense," and the laptop starts to show an incorrect battery percentage or shut down earlier than it should.
The battery itself may still be working fine, but the system thinks it is already empty or, conversely, full, and behaves accordingly. Calibration simply "retrains" the controller so that it correctly determines how much charge is actually left.
This is not the same as "battery cycling," which was recommended 10 years ago. Modern Li-ion and Li-Po batteries do not need to be specially trained. Calibration does not improve capacity or repair the battery. It only restores the accuracy of the charge indicators. And that's enough to stop your laptop from shutting down at 30% or showing 100% for three minutes.
When to calibrate
This is not a regular procedure that should be performed every week or every month. But there are times when it is necessary:
- The charge level fluctuates – it was 40%, then it became 5%, and all this in a few minutes.
- It turns off at 20-30% — there is still charge, but the system simply shuts down.
- It shows 100%, but doesn't last long – the charge seems to be full, but only lasts for half an hour.
- You just replaced the battery – the new one may not be "read" correctly.
- The BIOS or Windows has been updated – sometimes this disrupts synchronization with the controller.
- The laptop has not been turned on for a long time – for example, it has been lying idle for several months.
- Once every 2-3 months – for prevention, if the gadget is actively used.
Calibration in such cases is a way to update the indicators and restore normal battery operation. No more guessing how much charge is actually left.
Preparing for calibration
Before you start diagnosing the battery, it's worth doing a little preparation. It's not difficult, but it will help you avoid mistakes and do everything right the first time.
Save everything important
During the process, the laptop may suddenly shut down. Therefore: save your documents, close your tabs, and finish your work.
Disable "Hibernate" and "Fast Startup"
These modes prevent the battery from fully discharging. You can disable them as follows:
- Command for hibernation in the Windows command line (cmd): powercfg -h off.
- Fast Startup: Control Panel → Power Options → uncheck "Enable Fast Startup."
Once these settings are disabled, you can safely proceed to the next step.
Change power settings
Before you begin, it is worth temporarily disabling power saving mode so that the laptop does not go to sleep and turn off the screen prematurely. This is not about optimizing power consumption, but rather about creating conditions for complete discharge.
In the settings, set "Never" for sleep and display shutdown, and for low battery, enable only notification — without action.
Check the temperature
If your laptop is overheating, don't do anything. Use HWMonitor or HWiNFO to check.
Normal temperatures:
- CPU up to 85°C.
- GPU up to 80-85°C.
- SSD up to 70°C.
When the temperature is within normal limits, the result will be more accurate.
Everything is ready. It's better to spend 5 minutes now than to have to correct errors later.
Method #1 – Manual battery calibration
This is the easiest option. It works for any laptop, regardless of brand or model. No need to mess with the BIOS or install programs. Just follow the instructions, and you're good to go.
Step 1. Fully charge your laptop
Plug in the charger and wait until the indicator shows 100%. But that's not all. Leave the laptop charging for another 1-2 hours, even after it is already "full." This will help the power controller accurately record the upper charge limit.
Step 2. Fully discharge
Disconnect the charger. Use your laptop as usual: browser, videos, work. The main thing is not to put it into sleep mode, not to turn it off manually, and not to reconnect the power connector. Let it turn itself off. This will be a "clean" zero for the system.
Step 3. Leave it in a discharged state
When the laptop has turned off, don't rush to charge it right away. Leave it turned off for another 3-5 hours. This is necessary for the controller to "reset" all old charge data. This is called a deep discharge.
Step 4. Recharge to 100%
Plug in the charger. Important: do not turn on the laptop until the charge reaches 100%. It is better to keep it plugged in for another 30-60 minutes, even after it is fully charged. Let
the system clearly register that this is the new upper limit.
Step 5. Check the result
Turn on the laptop and start working. If everything was done correctly, the charge will stop "jumping," the laptop will no longer shut down suddenly, and the indicator will start showing the correct level.
Sometimes this is enough to make the laptop predictable again.
Method #2 – Calibration via BIOS / UEFI
This option is for those who want the laptop to do everything itself, without any extra steps. Many models have a built-in adjustment function directly in the BIOS. It runs a full cycle: the laptop charges, discharges, and adjusts the settings itself.
It may be called Battery Calibration BIOS, Battery Test, Smart Battery, or something similar. It can be found in:
- HP – in the Diagnostics or Tools tab.
- Dell – in the Power Management section.
- Acer / MSI / ASUS – in Advanced or Main.
- Samsung, Lenovo, Toshiba – sometimes available, depending on the model.
Search the manufacturer's website for your laptop model to find the exact name.
To start:
- Turn on or restart your laptop.
- During startup, press one of the following keys: F2, F10, Del, Esc – depending on the model.
- When you enter the BIOS, find the Battery Calibration item (it may be in the Power, Advanced, Tools, etc. sections).
- Start the process. The laptop will warn you that it will be fully charged and then discharge itself to zero.
- Do not touch anything. Just leave it alone. This may take several hours.
When it's done, the laptop will turn itself off or ask you to restart it. After that, the charge indicators should be updated.
Advantages of this method:
- everything is done automatically;
- higher accuracy than manual methods;
- no need to configure anything in the system.
But there are also disadvantages. Not every laptop has this feature. While the process is ongoing, you cannot use the device. And another thing: diagnostics via BIOS can take several hours, so you will have to be patient.
Method #3 – Using manufacturer utilities
If you have a laptop from Lenovo, ASUS, HP, Dell, or MSI, the manufacturer has most likely already taken care of everything for you. These models have proprietary utilities for system maintenance, which include a separate battery calibration function. Here are some popular ones:
- Lenovo Vantage – "Battery Calibration" in the "Power" section.
- ASUS Battery Health Charging – an option for calibrating and limiting the charge.
- HP Support Assistant – "Battery Check" section.
- Dell Power Manager – "Battery Settings" tab.
- MSI Center battery – "Battery Calibration" menu in the maintenance section.
If you don't have the utility yet, you can download it from the manufacturer's official website. Just enter your model and select the desired program in the Support or Drivers & Downloads section.
This method is best if you don't want to mess with the BIOS, are afraid of pressing the wrong thing manually, or want the laptop to do everything itself.
The utilities are also convenient because they often display additional information: status, wear, temperature, charging cycles. You can also configure profiles: for example, charge only up to 80% to extend the battery life.
Common calibration mistakes
Calibration is a simple procedure, but if you do something wrong, it will be useless. And sometimes you can even cause damage. Therefore, it is worth knowing right away what is best not to do and calmly avoid all the pitfalls.
The most common mistakes are:
- Calibrating when the device is overheating. If your laptop is hot, this is not the time for such manipulations. The battery will wear out faster, and the readings may be inaccurate.
- Not letting it charge completely. 98% is not 100%. And without a full charge, the controller will not "remember" the upper limit.
- Interrupting the process. Turning it off, putting it to sleep, reconnecting the power supply—and the entire synchronization is disrupted.
- You are trying to use a worn-out battery. If the battery wear level is over 40% or it is swollen, it cannot be fixed with correction.
- Doing this too often. Once every 2-3 months is normal. More often than that is harmful, especially for Li-ion batteries.
For calibration to really help stop battery degradation, it is enough to do everything right once — without fuss and excessive fanaticism.
Why nothing changed after calibration
This happens. Everything was done correctly, but the laptop still shows nonsense.
There are several reasons for this:
- The battery is worn out. If it is already "tired" by 40% or more, restoring the indicators will not help.
- The controller is malfunctioning. The chip that transmits data may be faulty.
- The problem is with the laptop itself. Sometimes the connector, charger, or BIOS malfunctions.
- The process was interrupted. Undercharging, early shutdown, sleep mode — and everything went down the drain.
Synchronization does not always help. If battery testing shows severe degradation or a problem with the motherboard, you will have to replace it or pay attention to other components.
How to check the battery status after calibration
Everything went well, no mistakes were made, and now you want to understand whether it got better or not. There are several ways to do this:
| Method | What to do | What to look for | What to pay attention to |
|
Windows command (cmd) |
Enter power cfg /batteryreport in the command line → copy the path to the file and open the report in your browser | Design Capacity і Full Charge Capacity | If the difference is > 30%, the battery is severely worn |
| BatteryInfoView | Install → run | Wear level (% wear level), battery capacity, cycles | Up to 20% – normal, 40%+ – time to replace |
| HWMonitor / HWiNFO / AIDA64 | Install → find battery data | Current capacity (mAh), charging current (A), battery voltage (V), temperature | Overheating and low capacity = problem |
Don't just look at the percentages. Pay attention to how long it actually holds a charge. If the laptop shuts down 30 minutes after reaching 100%, the numbers won't change anything.
When to replace the battery
Diagnostics, settings, reports — all of this is good, but sometimes the battery is worn out. And it doesn't matter what the indicator shows. Here are clear signs that it's time to say goodbye:
- It shows 40-60% — it is simply unable to hold a charge normally.
- Lasts less than an hour – even after 100%, the laptop quickly turns off.
- It turns off under load – you open a video, game, or browser, and the laptop turns itself off.
- It swelled up – the cover bulges, the keys lift up, the body bends. This is dangerous.
- The charge indicator is acting strangely – it shows 100%, but the charge disappears instantly or jumps back and forth.
In such cases, the controller will not save the situation – the battery simply needs to be replaced. And if you don't want to bother with a new one, you can immediately choose a refurbished laptop with a working battery on Recorder.sk. No hassle.
Tips for long battery life after calibration
Restoring the accuracy of the indicator is like restarting your relationship with the battery. And then it's important not to ruin everything again. Here are some simple things that really work:
- Don't keep it at 100% all the time. If your laptop only runs on battery power, the battery will "burn out" from this kind of use.
- The optimal charge is 20-80%. This is the comfort zone for Li-ion batteries.
- Do not allow overheating. Anything above 45°C is detrimental.
- Do not store a laptop that is 100% charged. If you plan to leave it unused for a long time, it is better to charge it to 50% than to leave it fully charged.
- Adjust every 2-3 months. More often is not necessary, less often may cause the indicator to malfunction again.
Nothing complicated. Just check the battery wear from time to time, don't keep the charge at a constant 100%, and your laptop battery will last longer. Then the question of "how to extend battery life" will arise less often.
Conclusion
A battery is not just a piece of metal inside a laptop. It has its own logic, memory, and a certain number of charge/discharge cycles. Calibration is a way to tune the battery, synchronize the Battery Controller with its actual state so that the state of charge (SOC) indicator does not lie. It is a simple procedure that sometimes solves more than it seems. But only when it is still alive. If it is already barely holding on, it is better not to delay and honestly admit that it is time to upgrade your equipment or at least the battery.
And there's no need to be afraid of these settings. Everything is done independently, without services or unnecessary software. The result is peace of mind and a laptop that works as it should.
FAQ – frequently asked questions
✔️ Is it harmful to discharge a laptop to 0%?
Sometimes yes, but not all the time. Once every 2-3 months for calibration is fine. Every day is harmful.
✔️ Do I need to calibrate a new battery?
Usually, no. But if the indicator displays the percentage incorrectly, you can do it once to synchronize.
✔️ Does calibration work on a MacBook?
No. On modern MacBooks, the battery works according to the "Optimized Battery Charging" algorithm, so manual calibration is not used.
✔️ Does calibration help if the laptop shuts down at 60%?
Yes, this is a classic case for calibration — that's exactly what it's for.
✔️ Can I calibrate while gaming or working?
No. This will only disrupt the process. Calibration = a complete cycle without interference.
✔️ How long does calibration take?
It depends on the laptop, but on average, 4-6 hours: charge → discharge → charge again.
✔️ Do I need to repeat it?
Yes, but not often. Once every 2-3 months is enough. More often only if there are problems with the indicator.